|
|
CNC Machine
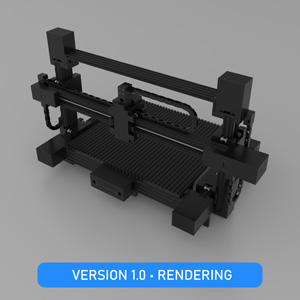
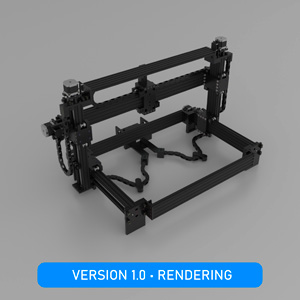
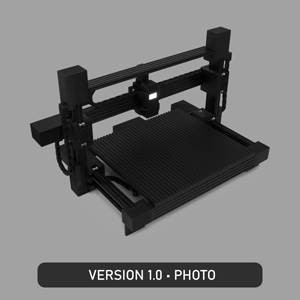
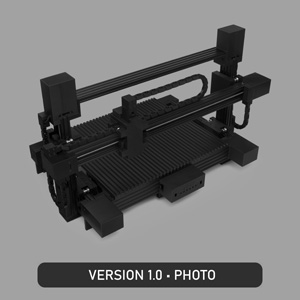
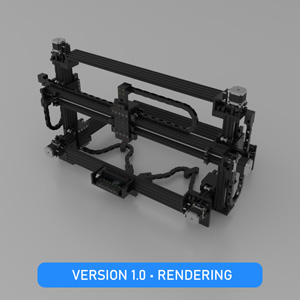
| 3D Printed CNC (Computer Numerical Control) Machine 1.0 (2022-07-10) |
|
|
 3D Printer STL files, parts and tools, which will help you to print and assemble for CNC Machine. All axes are with NEMA 23 motors and ACME 8mm lead screws for better accuracy at the expense of speed (compared to belt driven axes). Electronics by TinkerForge (DE) supports various programming languages. I am using this CNC Machine with my own software for light tasks. My software will not be available for download. Depending on what you want to do, you may need to use electronics by other manufacturer. TinkerForge allows you to write your own software, but you may need something, that exists already, and TinkerForge doesn't support that. If you noticed mistakes, weaknesses in design, have questions or suggestions, know original part manufacturers or better alternatives (available in EU and US), please write or send link to info@jocys.com • Project on Thingiverse.com or Printables.com 3D Printer STL files, parts and tools, which will help you to print and assemble for CNC Machine. All axes are with NEMA 23 motors and ACME 8mm lead screws for better accuracy at the expense of speed (compared to belt driven axes). Electronics by TinkerForge (DE) supports various programming languages. I am using this CNC Machine with my own software for light tasks. My software will not be available for download. Depending on what you want to do, you may need to use electronics by other manufacturer. TinkerForge allows you to write your own software, but you may need something, that exists already, and TinkerForge doesn't support that. If you noticed mistakes, weaknesses in design, have questions or suggestions, know original part manufacturers or better alternatives (available in EU and US), please write or send link to info@jocys.com • Project on Thingiverse.com or Printables.com
Parts were printed from PETG with Prusa3D i3 MK3 Printer.
|
Jocys.com
Comments • 0
|
|
|
3D Printer Enclosure
| Temperature Controlled 3D Printer Enclosure 2.1 (2020-02-25) |
|
|
3D Printer STL files, parts and tools, which will help you to assemble temperature controlled 3D printer enclosure with motion sensor controlled LED lights. Enclosure fits Prusa3D i3 MK3 printer. If you noticed mistakes, have questions or suggestions, please write to info@jocys.com • Project on Thingiverse.com or Printables.com
Maximum temperature inside enclosure depends on temperature of the room and heated 3D printer bed. Stable higher temperature inside enclosure reduces warping and detaching of bigger parts from the plate. Control precision is 1°C. HOW IT WORKS: If temperature rises +1°C above set limit (for example, set limit is +40°C and temperature rises to +41°C), two “MH1210A” controllers start fans (ventilation) and drop temperature to +40°C. Tested temperature limit inside enclosure +46°C (room +28°C, heated bed +85°C, extruder +240°C). In order to achieve even higher temperatures inside enclosure, insulation must be added to windows and door. All enclosure parts (cut perspex sheets, ~2kg PETG filament (20% infill), bottle of Windex, smoke alarm, cables, controllers, etc.) cost me about €260 (tools are not included).
E3D V6 HotEnd is rated to 40°C ambient operating temperature. As you approach that temperature, cooling efficiency is reduced, allowing more heat up past the heatbreak. This can cause low temperature filament to soften in the mechanism to cause feed problems. Therefore, for PETG filament, I set both enclosure fans to keep 35°C inside enclosure.
1mm spaces between perspex sheets and table are for even ventilation.
2 temperature controller-fan sets are for safety, in case one set malfunctions.
If you made your own updates or changes, related to this project, please send me a link. I will add this link to your work on this page.
|
Jocys.com
Comments • 1
|
|
|
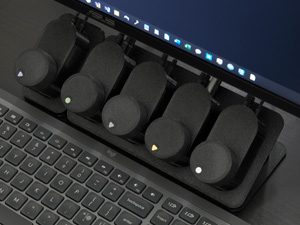
Audio Switch and Volume Control Boxes
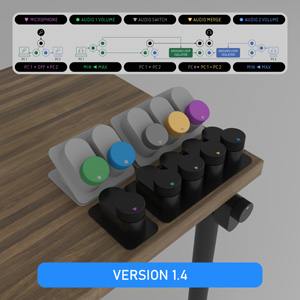
| Audio Source Switch and Volume Control Boxes 1.4 (2022-08-04) |
|
|
3D Printer STL files, parts and tools, which will help you to print and assemble audio source switch and volume control boxes. If you noticed mistakes, have questions or suggestions, know better component (available in EU and US), please write or send link to info@jocys.com • Project on Thingiverse.com or Printables.com
If you made your own updates or changes, related to this project, please send me a link. I will add this link to your work on this page.
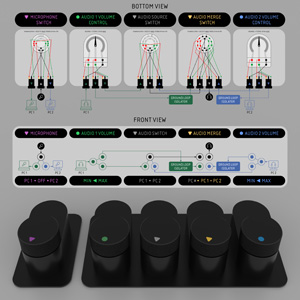
Why I decided to make my own switch? I tested few audio switches. Ground wires of both audio sources were connected together in all of them. Why? I understand, that manufacturers can save few € by using cheaper switches with fewer poles, but consequences of that are unacceptable. Unnecessary ground merging creates audio noise and anomalies. You need to buy and use ground loop isolators to eliminate this noise, but ground loop isolators degrade quality of the audio slightly. I wanted audio to go through ground loop noise isolators ONLY, when both audio sources are merged (when you want to hear audio from both computers at the same time). To avoid audio merging, while switching sources, I used non-shorting switches. Also, I wanted to switch headphones and stereo microphone with ability to switch off (disconnect) microphone completely. With stereo microphone you can have better environment noise elimination options in software. I didn’t want to use powered audio mixers or interfaces, which needs power and processes (distorts) signal in any way.
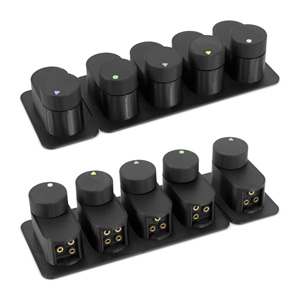
Features:
1. Microphone switch: PC1 • OFF • PC2.
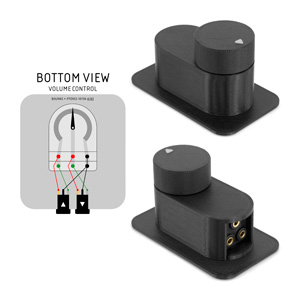
2. PC1 audio volume control.
3. PC2 audio volume control.
4. Audio source switch: PC1 • PC2.
5. Audio source merge: PC# (OFF) • PC1 + PC2 (ON) - audio signal grounds of PC1 and PC2 are merged and audio goes through ground loop noise isolators ONLY, when audio signals are merged. This allows to avoid audio quality degradation, when unnecessary and you don't need to listen both computers at the same time.
|
Jocys.com
Comments • 0
|
|
|
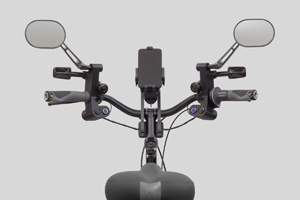
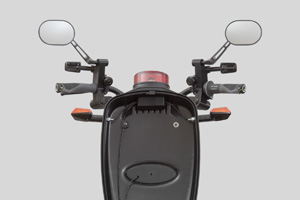
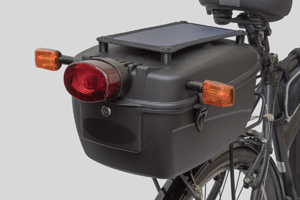
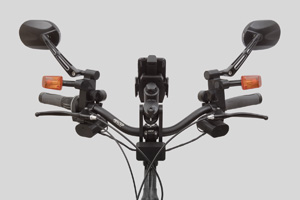
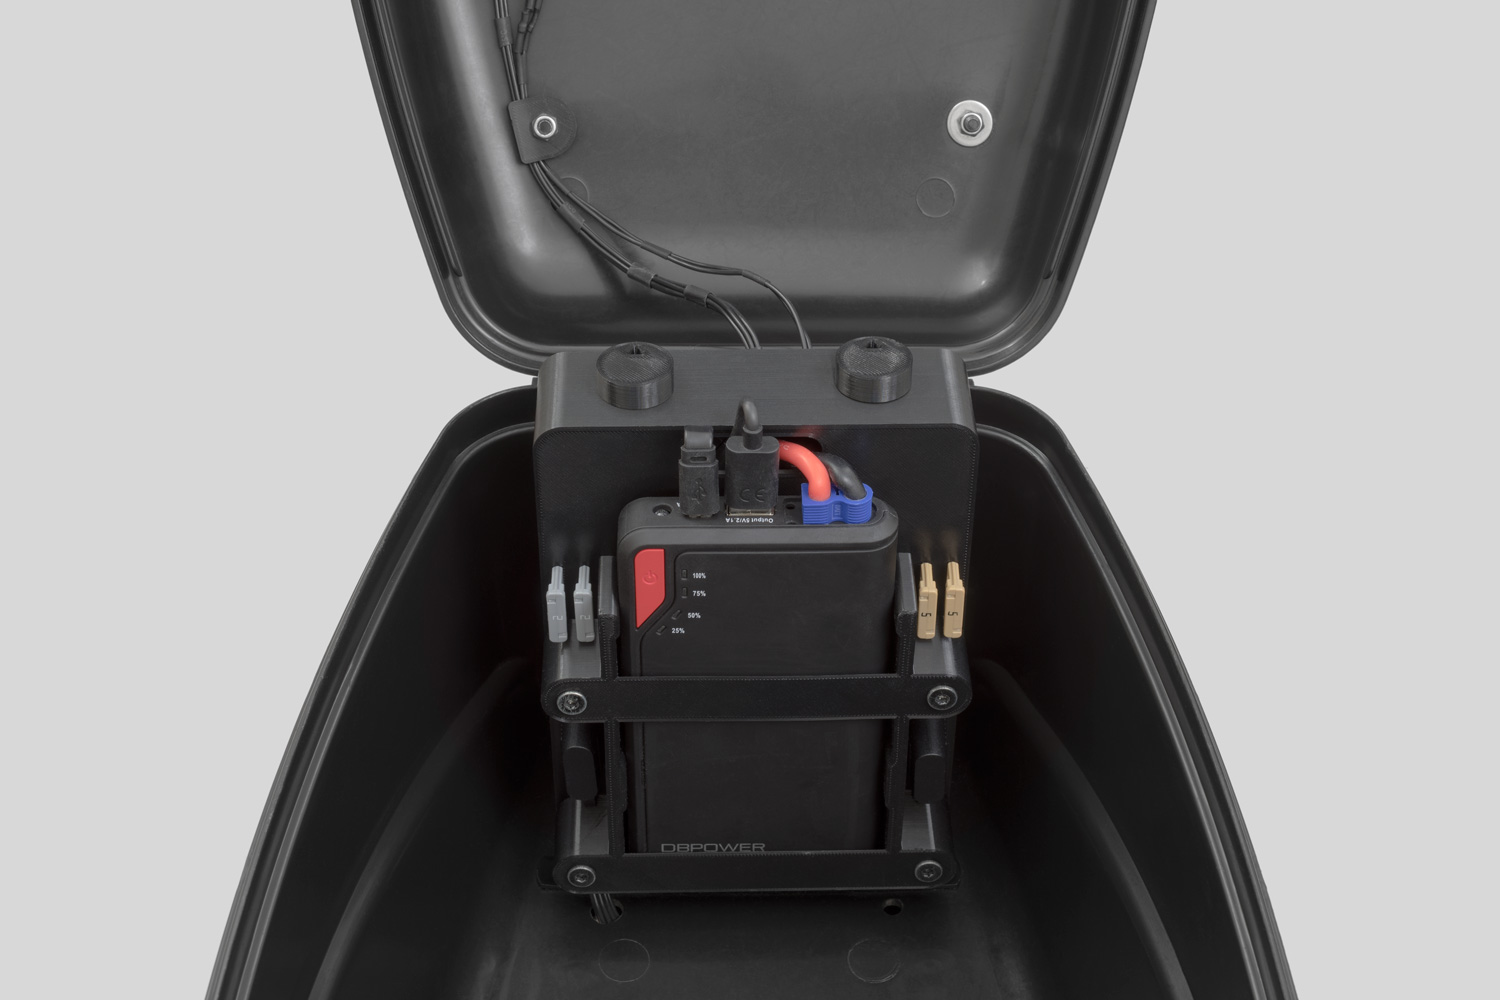
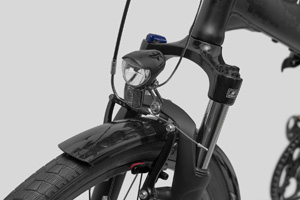
Bicycle Turn and Stop Signals
| Bicycle Turn and Stop Signals with Front and Rear Lights 1.3.4 (2022-03-28) |
|
|
3D Printer STL files, parts and tools, which will help you to add turn and stop signals to your bicycle. If you noticed mistakes, have questions or suggestions, know better component (available in EU and US), please write or send link to info@jocys.com • Project on Thingiverse.com or Printables.com
Parts were printed from PETG with Prusa3D i3 MK3 Printer. If your printer is not precise enough, printed parts may not fit into each other and may not look good. Spaces between some parts are 0.1mm only. This project is based on 12 Volts. Bicycle dynamos and lights are, usually, 6 Volts. USB is 5 Volts. Be careful and don't mix wires. If you made your own updates or changes, related to this project, please send me a link. I will add this link to your work on this page.
Parts were printed from PETG with Prusa3D i3 MK3 Printer.
|
|
The owner of this website is a participant in the Amazon EU Associates and Amazon Services LLC Associates Program...
The owner of this website is a participant in the Amazon EU Associates and Amazon Services LLC Associates Program, an affiliate advertising program designed to provide a means for sites to earn advertising fees by advertising and linking to Amazon.com / Amazon.co.uk / Amazon.ca / Amazon.de / Amazon.it / Amazon.fr / Amazon.es
|
Jocys.com
Comments • 0
|
|
|